Setting up on-premise ubuntu server with AWS Systems Manager

Introduction:
Systems Manager also helps you configure and maintain your managed instances. Supported machine types include Amazon Elastic Compute Cloud (Amazon EC2) instances, on-premises servers, and virtual machines (VMs), including VMs in other cloud environments. Supported operating system types include Windows Server, macOS, Raspberry Pi OS (formerly Raspbian), and multiple distributions of Linux.
In this short blog, we are going to cover registering an ubuntu on-prem instance to AWS Systems Manager
Installation Steps:
1) Go to AWS console and open SSM
2) Under "Node Management" click on "Hybrid Activations" & then "Create an activation"
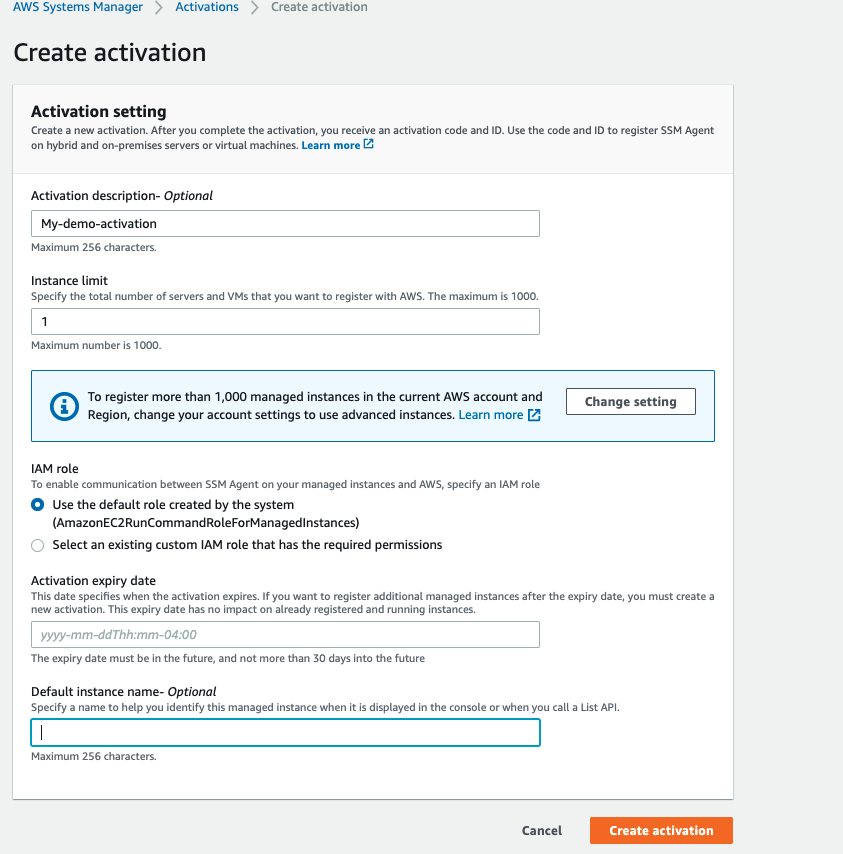
3) Fill out the required details, you can give it a name and setup an expiration time
4) Once you generate the activation, you will get activation-code and activation-id. This will be used for our on-prem instance
5) Login to your onprem instance and execute the following commands after you replace activation-code and activation-id -
mkdir /tmp/ssm
curl https://s3.amazonaws.com/ec2-downloads-windows/SSMAgent/latest/linux_amd64/amazon-ssm-agent.rpm -o /tmp/ssm/amazon-ssm-agent.rpm
sudo yum install -y /tmp/ssm/amazon-ssm-agent.rpm
sudo systemctl stop amazon-ssm-agent
# edit the code, id and region in the command below
sudo amazon-ssm-agent -register -code "activation-code" -id "activation-id" -region "region"
sudo systemctl start amazon-ssm-agent
6) Go to SSM dashboard and check your registered instance, since this is on-prem it should start with "mi-"

